4 Tips - The Perfect Dog Brace Cast

Creating the perfect Casting can be summed up in four essential tips.
Position. Tight. High. Criss-Cross. Understand each to make yourself the Casting superstar for Custom Orthotics!
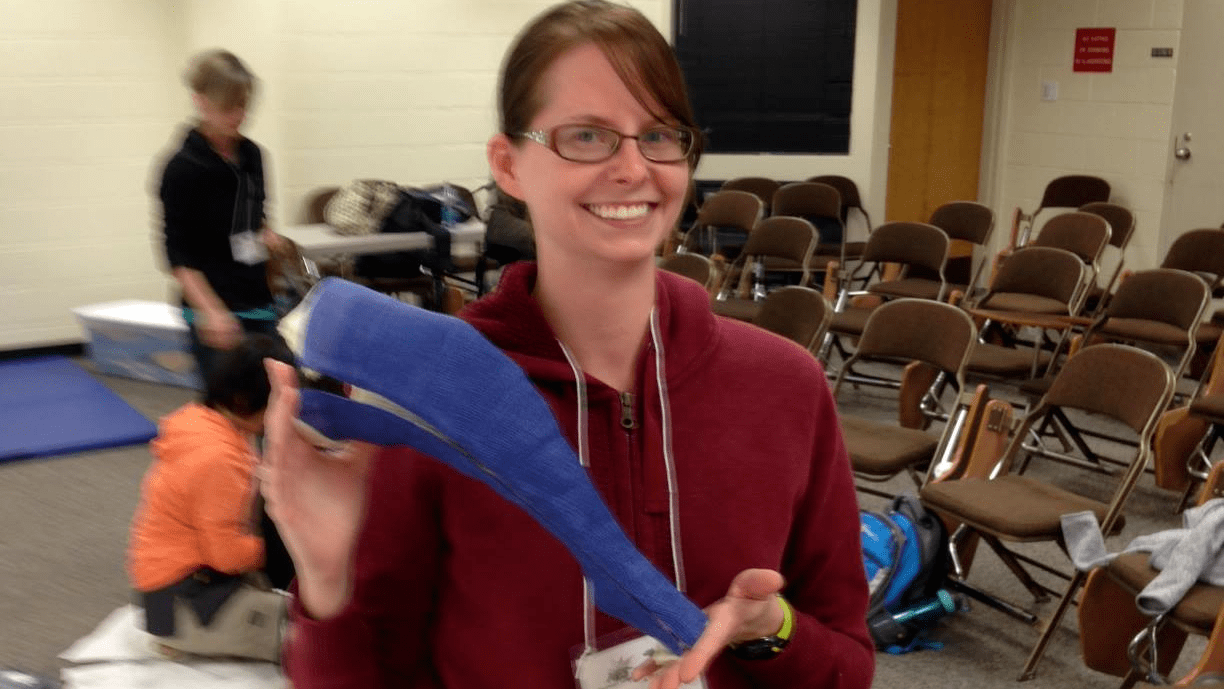
Let’s be clear on what “Casting” means in this article. Old school casts meant a kid with a broken arm had white plaster wrapped from elbow to wrist. These aren’t your old school casts!
The word “Cast or Casting” gets used because it is cast-like. The material is fiberglass casting tape and it used to make an impression of the limb.
Position - The "Magic" of Walking Easily
This is where Hero Dog Braces really differ from other custom bracing. We ask for a cast with the dog lying on its side instead of standing.
We feel this is important for a couple reasons.
First is gravity. Gravity is really what feeds any deformity. The body weight pushes down on the legs and increases the deformity. Casting a dog while lying down neutralizes gravity so you can focus on getting the limb into the corrected position.
Second is rational. Can you really get a dog to stand still for fifteen minutes to let the cast set? Much less "correct" the leg while doing this. In our vet clinic our team holds the dog to trim nails. Casting is no different.
So how do we correct the position? It is important to remember what deformity we are trying to support. The cranial drawer of a cruciate tear is a unique motion. We reduce it differently than angular deformities like varus or valgus.
When Casting for the Knee Brace pull the leg straight down perpendicular to the body. This will reduce the cranial drawer. Trying to cast in a “natural” standing position causes the tibia to shift forward and has a negative effect on fit and function of the custom orthotic.
For the Ankle Brace place the foot and ankle in a natural standing position.
With the Wrist Brace reduce any varus (foot angled towards midline) or valgus (foot angled away from midline) deformity and place the foot in a natural standing angle. Typically, the pet is straight through the wrist but can vary with breed. If this one is a bit confusing give us a call and we can help guide you through the process.
Tight - Show us the Boney Landmarks
A Tight Casting is necessary for precision work. When the Hero Braces lab has exact dimensions taken from the Casting, they can create the best custom fit.

The Casting tape should be wrapped snugly to outline the boney prominences or bumps on the leg. If the Casting tape does not have enough tension it will droop and not outline the prominences. This creates guesswork for the lab or the need for another Cast.
Remember, no padding is added, just a layer of stockinette to protect the limb. This keeps the Cast true to the shape of the leg. Because the Cast will be removed as soon as it hardens, you don’t need to worry about pressure points.
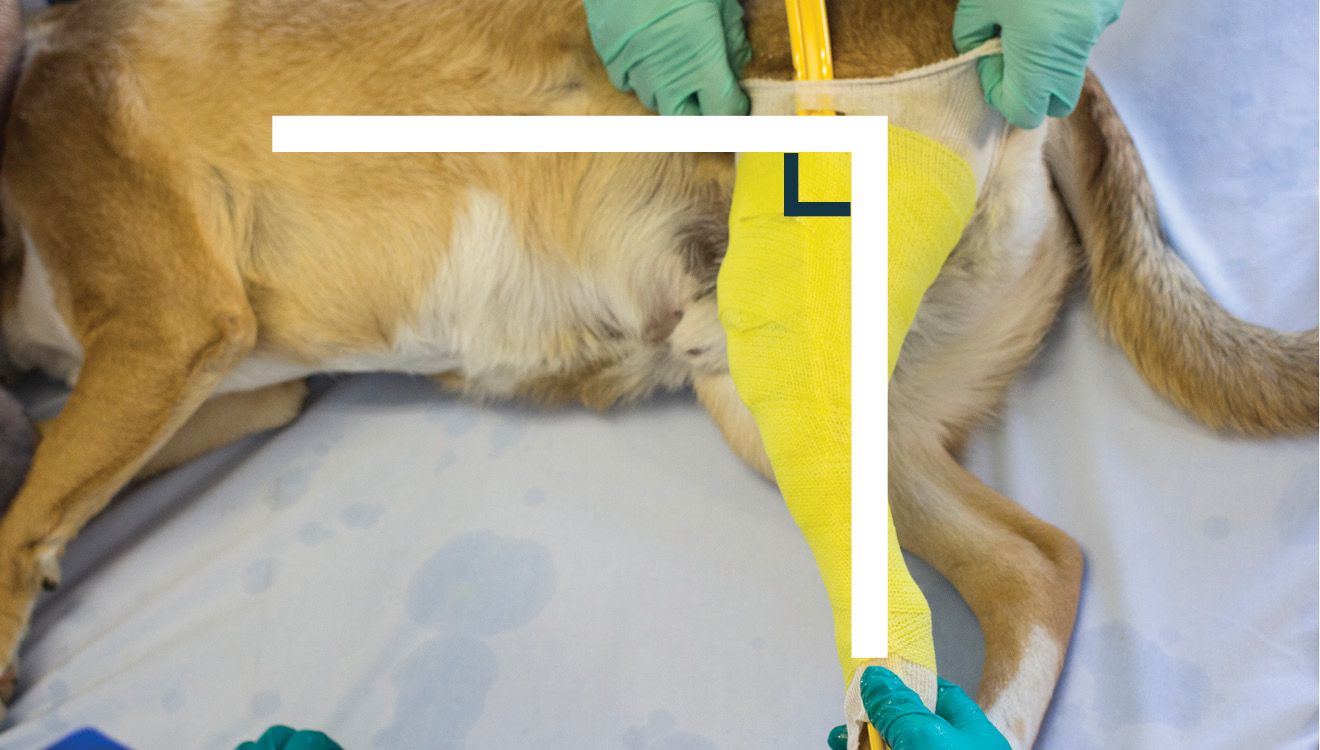
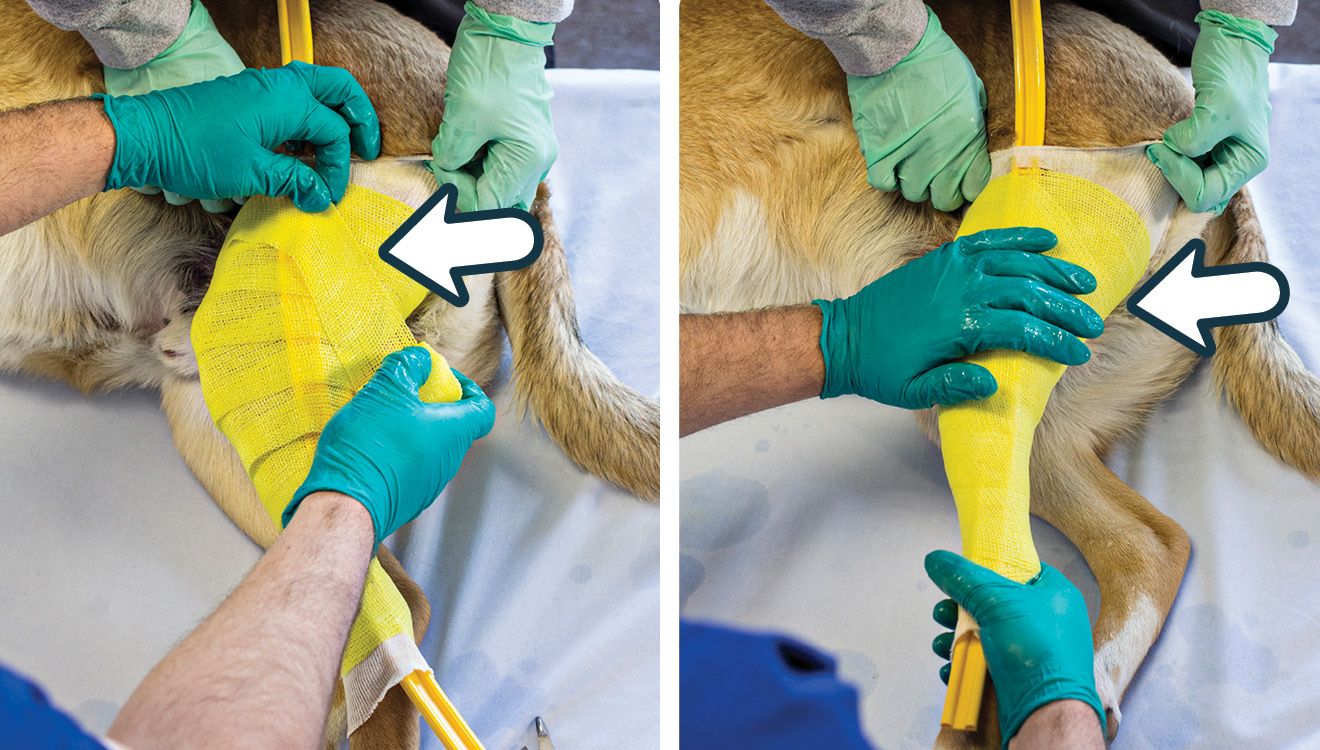
High - Capture the Groin
For the stifle, make sure the protective stockinette goes high into the groin or beyond the area to be cast. This is really important to have your helper focus on keeping the stockinette high. Notice where the hands are, it really helps to pull the stockinette high in the inside of the leg.
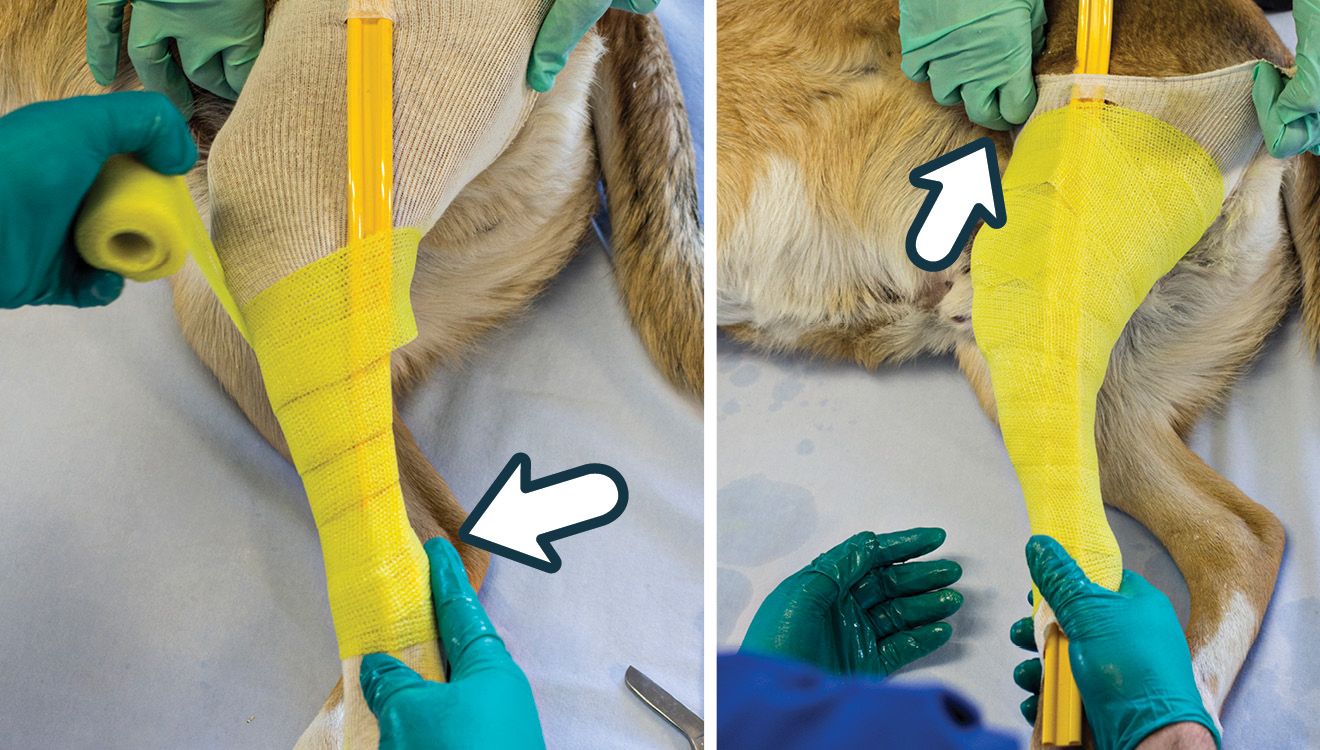
When starting the Cast, casting tape is spiraled up the leg with a 50% overlap. The Casting tape wraps high into the groin for Custom Dog Knee Braces or to the joint above for the Wrist and Ankle Braces. Be sure to wrap to the end of the foot for our Custom Wrist and Ankle Braces.
This technique allows the Hero Brace lab to see landmarks, take measurements and plan for the proper dimensions of the Custom Brace.
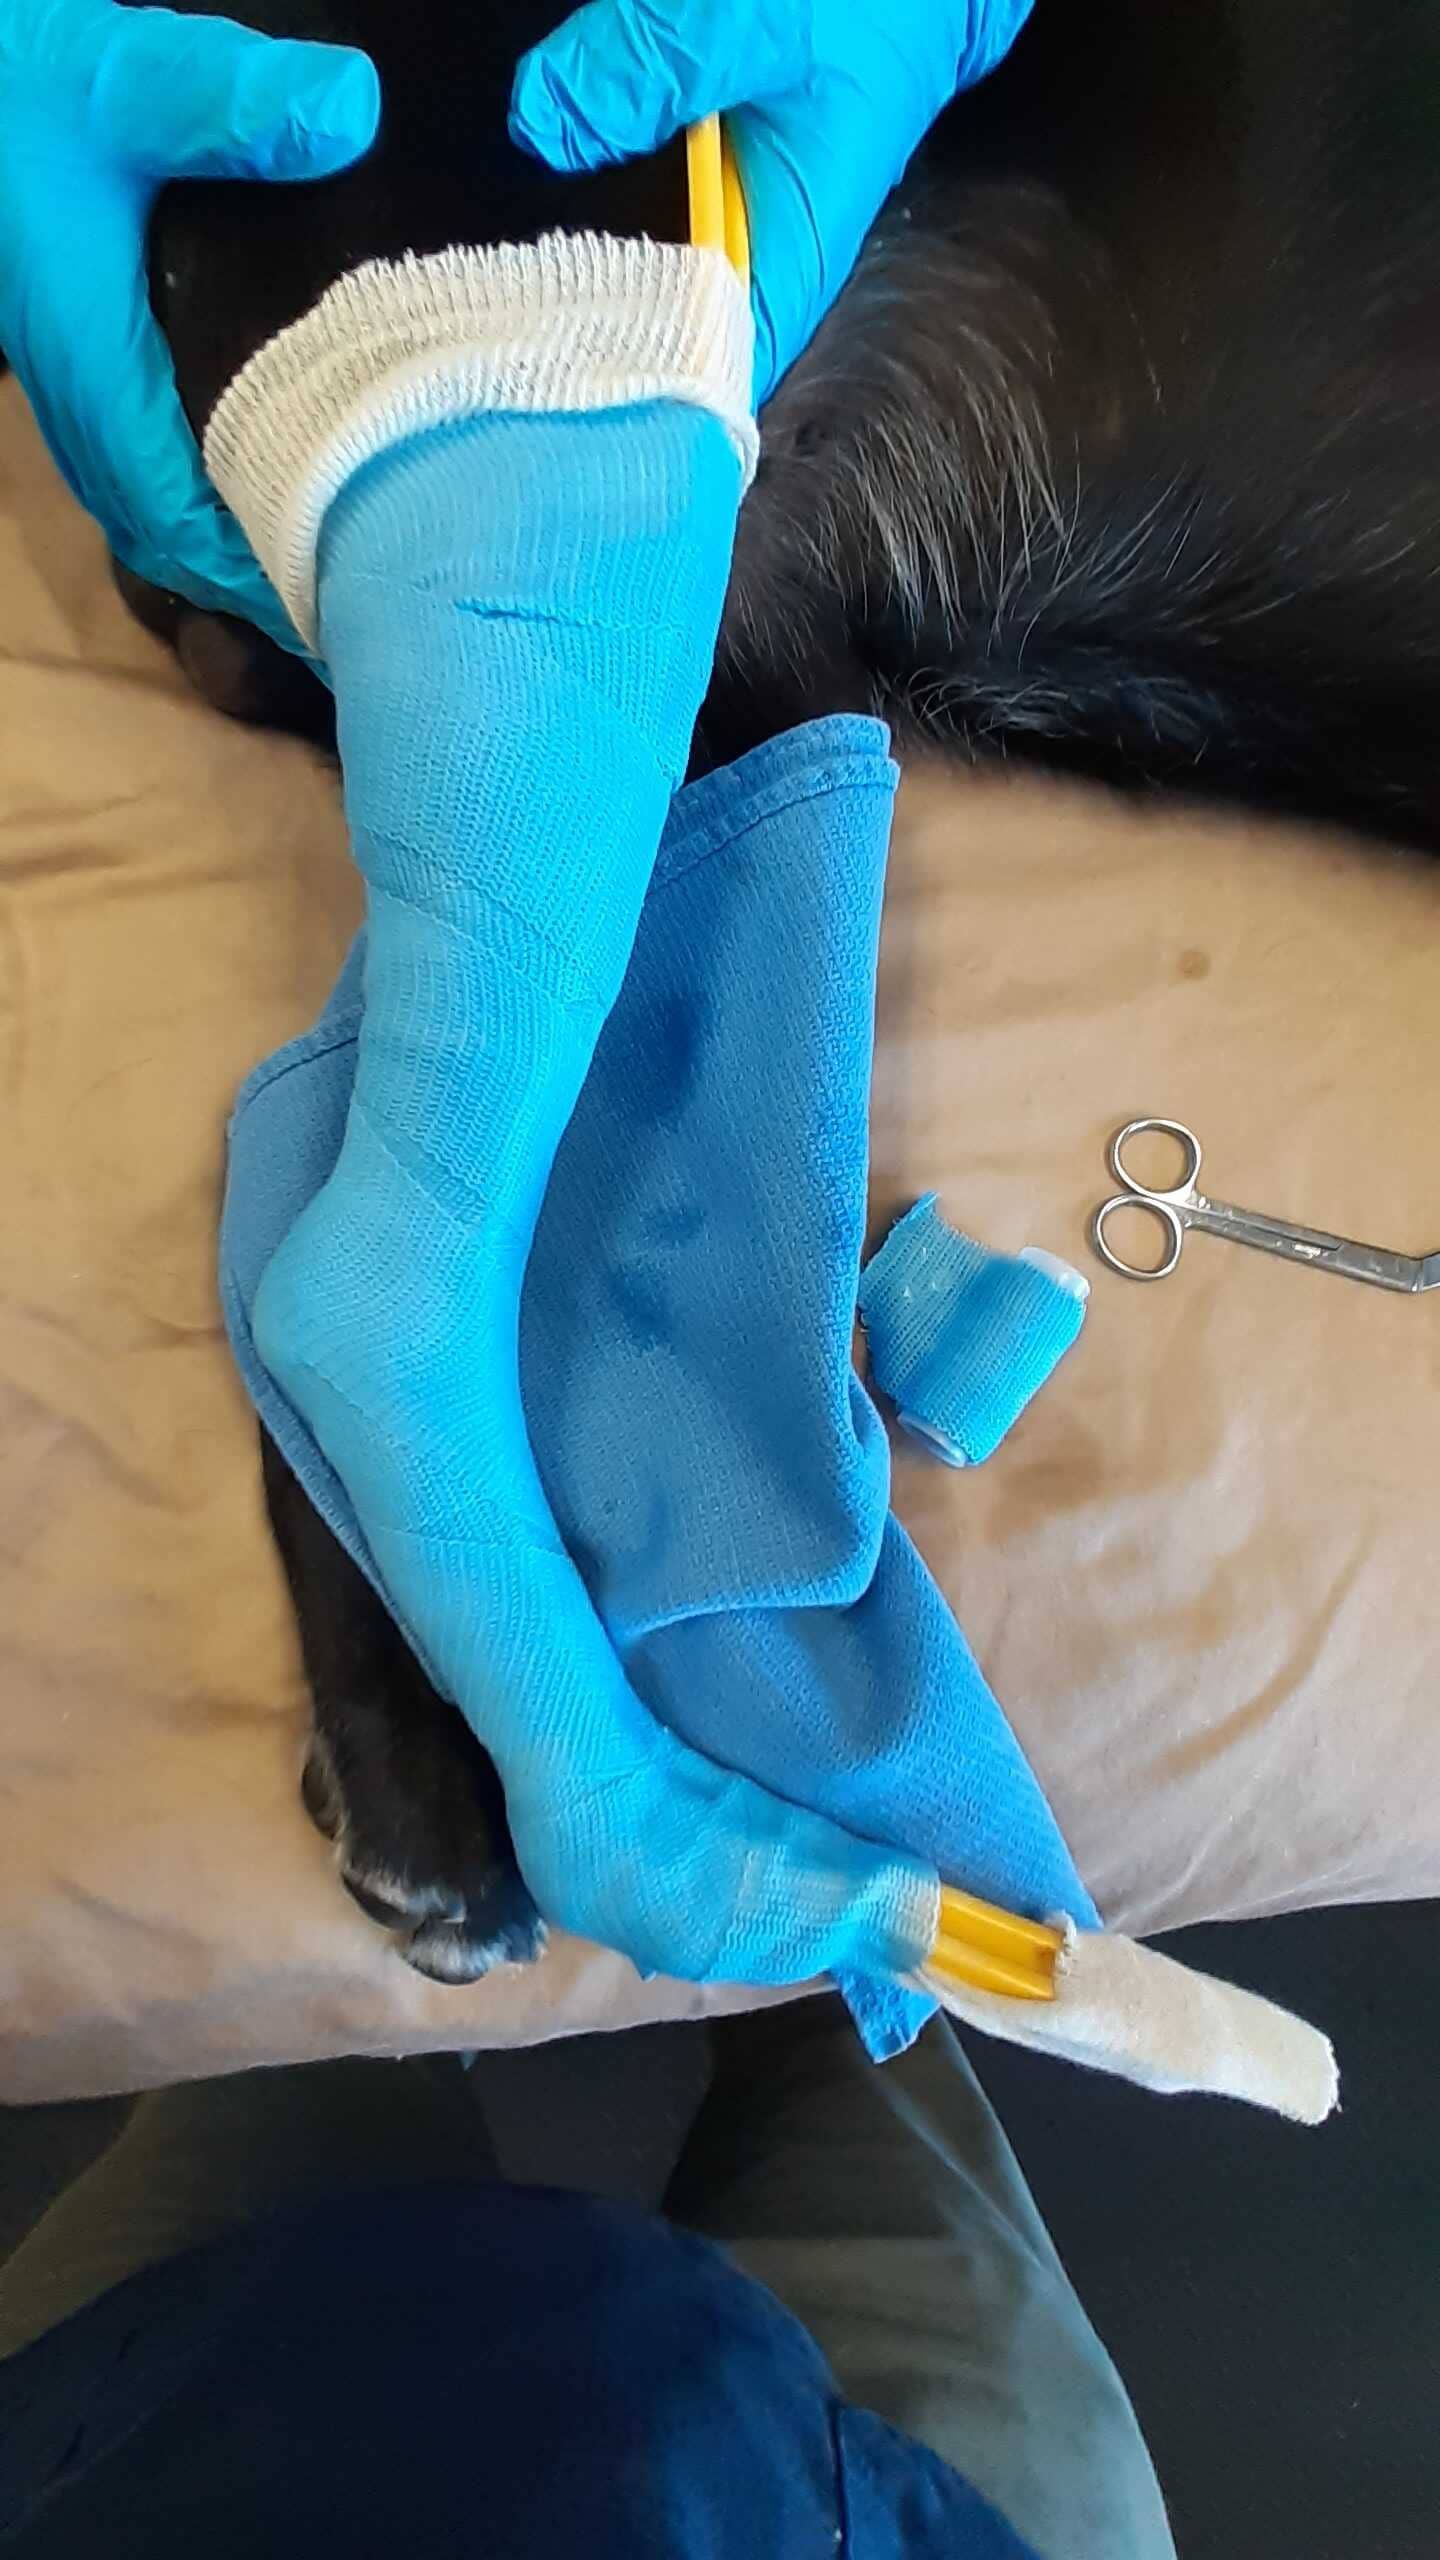
Criss-Cross - Make it Strong AND Thin
This tip will make you happy when it comes time to cut off the cast. A thin cast is so much easier to cut through.
A Fifty percent overlap of the Casting material wrapped up the limb is finished by Spiraling down at a 45-degree angle, like the spiral on a candy cane. Criss-crossing the weave of the material creates a strong but light Cast. The three layers created are thin enough to be cut off easily yet stay together during shipping and at the lab.
For reference, download our Casting Tips PDF.
For a more in depth video about casting. Watch our course from a UT Canine Rehab Lab
If you have any questions or need a little help, we are here to support you. Make a quick phone call or send us an email.
Hero Braces want to help you help more pets.
See these additional (HB) Bracing Tips Blog Articles